How to plan a Project Zomboid base (Build 42)
A good base is planned before the first plank goes down. This guide covers the rules the game enforces and the layout tricks that save you hours: from fitting your plot to stairs, storage, power, water, farming, defence and building in stages.
1. Start from your plot
On a server your claim decides everything, and it is often not a neat rectangle: two claims joined, an L shape, a missing corner. Measure it in tiles first and sketch which parts are yours.
- Put the building on the part of the plot nearest the road or your gate; use the rest for the yard, parking and farm.
- Design the finished base first, then decide what you build first. A base that grows without a plan ends up outside the claim or boxed in.
- On a small plot, go up a level rather than out. Every level above sits on the one below, so keep upper rooms over lower ones.
2. Walls, floors and levels
In Project Zomboid walls, doors, windows and fences sit on the edges between tiles, not on tiles. Two rooms side by side share a single wall.
- Wood walls go from level 1 to level 3 as your Carpentry grows (every recipe is on the building recipes page). Brick and stone need Masonry and concrete, metal walls need Metalworking, a blowtorch and welding rods.
- Every tile of an upper level needs a floor to stand on. The floor of one level is the roof of the room below it.
- Rectangles that share walls are the cheapest to build. Odd shapes cost more walls for the same floor.
3. Stairs
Stairs cause more rebuilding than anything else. The rules:
- A staircase is three steps long and climbs north or west only. You step on at the low end and arrive on the tile past the high end, one level up.
- You cannot place stairs under an existing floor. Build each flight before the floor above it, and leave the tiles over the flight open.
- Keep the tile at the foot and the tile at the head clear, with at least two tiles of room around the stairs.
- For three or more levels, put the flights beside each other in one stair core (a switchback), so every floor is reached from the same place.
4. Storage and sorting
Loot that isn't sorted gets lost. Plan storage as carefully as rooms.
- You open a container from a neighbouring tile. Every crate or shelf needs one open, reachable tile beside it.
- Crate pods: stacks of three crates in a C shape around one standing tile. From that tile a whole pod opens in one loot window.
- A sorting bench: park so the car's trunk sits at a door, put one or two intake crates right inside, then a row of counters, one per category (food, medical, tools, ammo…). Every run ends sorted, and each category's home is a short walk away.
- Label every section. Servers that cap items per container make this even more important.
5. Power and water
- A generator powers everything within about 20 tiles and three floors up and down on default settings.
- It must stand outdoors under open sky. Under a floor or roof it fills the building with fumes. Plan an open court or a roof spot for it.
- A rain collector barrel one level above a sink, within the 3 × 3 tiles over it, plumbs that sink. Rainwater is tainted: boil or purify it.
- Fridges and freezers need power, so keep the kitchen within your generator's reach.
6. Farming and animals
- On default settings crops only grow outdoors on the ground level. Indoor crops and rooftop gardens don't grow unless your server allows it.
- Lay plots in double rows with a one-tile path between the pairs, so every plot can be reached.
- Fence the farm to the building with no gaps, and put the farm store (seeds, tools, feed) by its door.
- Keep animals on the ground with a hutch and a trough, inside the fence.
7. Defence
- Zombies get in through windows and doors. Keep the ground floor to few or no windows, and put windows upstairs.
- One vehicle gate (every buildable double gate is four tiles wide) and one walk-in door are easier to hold than many openings.
- Fences must meet the building walls with no gaps. A one-tile gap undoes the whole fence.
- Metal gates and doors are the strongest. Upgrade the ground floor first: it's the level zombies reach.
8. Build in stages
You won't build a fortress on day one. Plan the stages so each one is a working base:
Grow it
Start with one room you can live in: a door, a rest spot, a kitchen corner and a few crates. Add rooms beside it, then a second level, then the workshop, library, garage and farm, then defences. Place each room where it belongs in the finished plan.
Upgrade it
Build the whole layout in cheap wood, then upgrade in place, most exposed first: wood level 3, then brick on the ground floor's outer walls, then metal walls, doors and the vehicle gate.
9. Plan it in PZ Blueprint
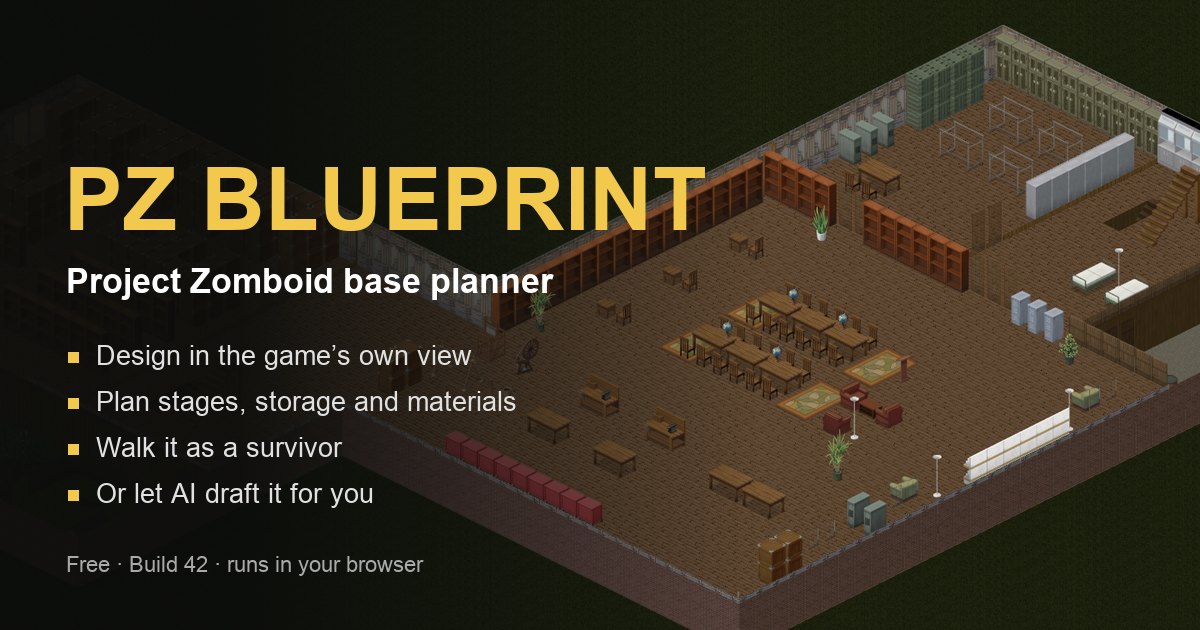
PZ Blueprint is a free base planner for Project Zomboid that runs in your browser:
- Draw floors, walls, doors, windows, gates and fences on tile edges, in the game's own angled view or as a top-down blueprint, on up to eight levels.
- Place any of the game's furniture and containers (see the furniture and capacity list), name rooms with zones and label your storage.
- Plan your upgrade path as stages and get the materials each stage needs from the game's own build recipes.
- Check the walk between rooms and up the stairs, and see every container nobody can reach.
- Press Play and walk through your base as a survivor, at the game's own walking and running speeds.
- Or let ChatGPT, Claude or any AI assistant draft a base for you with Build with AI: the planner checks the draft against these rules and tells the AI what to fix.
Questions
Is PZ Blueprint free?
Yes. It runs in your browser with no account, and your plans stay on your device. You can save a plan as a file to back it up or share it.
Which version of Project Zomboid is it for?
It is made for Build 42: its walls, fences, floors, furniture and build recipes come from Build 42, and its rules (stairs, generators, farming) follow Build 42 on default settings.
Can AI design my base?
Yes. Build with AI gives ChatGPT, Claude or any assistant everything it needs to write a short build script for your plot. The planner builds it, checks it against the game's rules (plot, doors, stairs, reach, generators, crops) and gives you a list of fixes to paste back. Treat the result as a first draft to polish.
Can I plan upgrades, like wood first and metal later?
Yes. Stages hold your upgrade path: each stage is the base as it stands at that point, and the Materials and Stages views show what each stage adds and costs from the game's own recipes.
Can I walk through my base?
Yes. Press Play to explore it as a survivor at the game's own walking, running and sprinting speeds, with walls cut away and objects fading the way the game does.
Does it work for multiplayer claims that are not a rectangle?
Yes. Describe your claim (for example two joined rectangles) and the plan keeps everything inside it; anything outside the claim is flagged.
Ready to plan yours? Draw it, stage it and walk through it before you build a single wall in game.
Open PZ Blueprint